Something as simple as taking two seconds to change a setting in your software preferences can help save time and money on a print. For this edition of 30 on 3D, Senior Sales Engineer, Mark Dewey, explains how to change the support grid on a print and why it is more efficient.
One thing that we notice quite often with Objet Studio users is when getting their files ready to print, they keep their Grid Style set to “standard”. Switching the support grid settings from “standard” to “light” can provide a better surface finish and an easier part to clean, cutting down post processing time. Another thing to keep in mind is when printing in “standard” or “heavy” support grids, the printer mixes in extra material with the support causing there to be an unnecessary amount of wasted material being thrown away. Over time, using these heavier settings can end up getting pretty costly.
To change your grid style for a more efficient print, follow these steps:
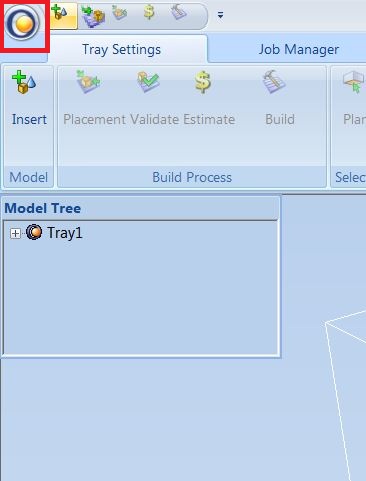
1. Once Objet Studio is open, click on the Objet Studio icon in the top left of the screen.
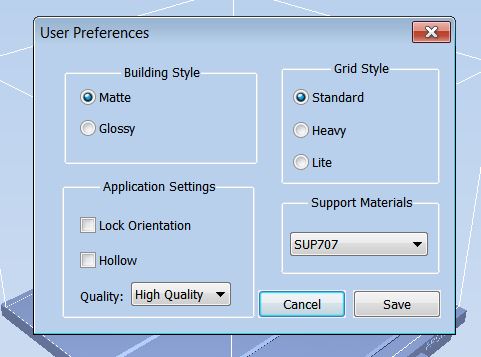
2. Scroll down and click on User Preferences. This should bring up the User Preferences window.
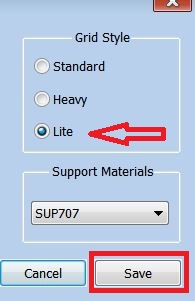
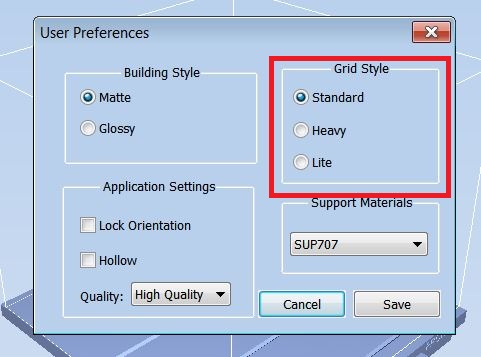
3. In this window you will notice the Grid Style section to the right. In that area, you can choose between Standard, Heavy, or Light. Make sure to have Light checked.
4. Once Light is selected, click Save. The next job will be printed in a Light Support Grid.